Configuring the environment for the lesson
You are free to use any of these methods to follow our lessons. Each of them comes with its own advantages and disadvantages. Maybe the easiest way is using the VM that we prepared for you on JetStream but you are free to use other methods and we describe those too.
Simplest way: Using our Jupyter Hub deployment
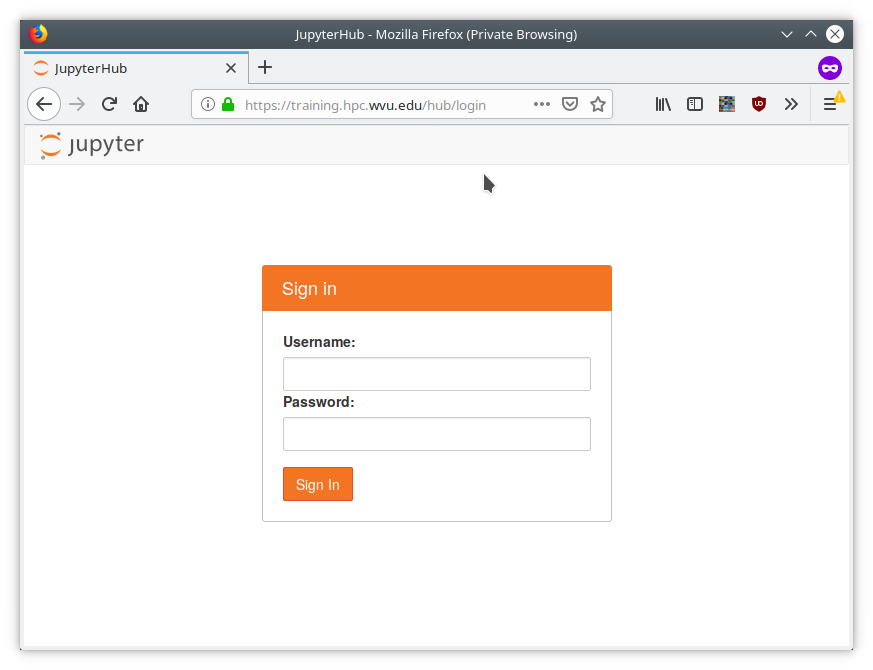
Go to https://training.hpc.wvu.edu and enter you username and password.
This is a Virtual Machine provided by JetStream.
You will see something like:
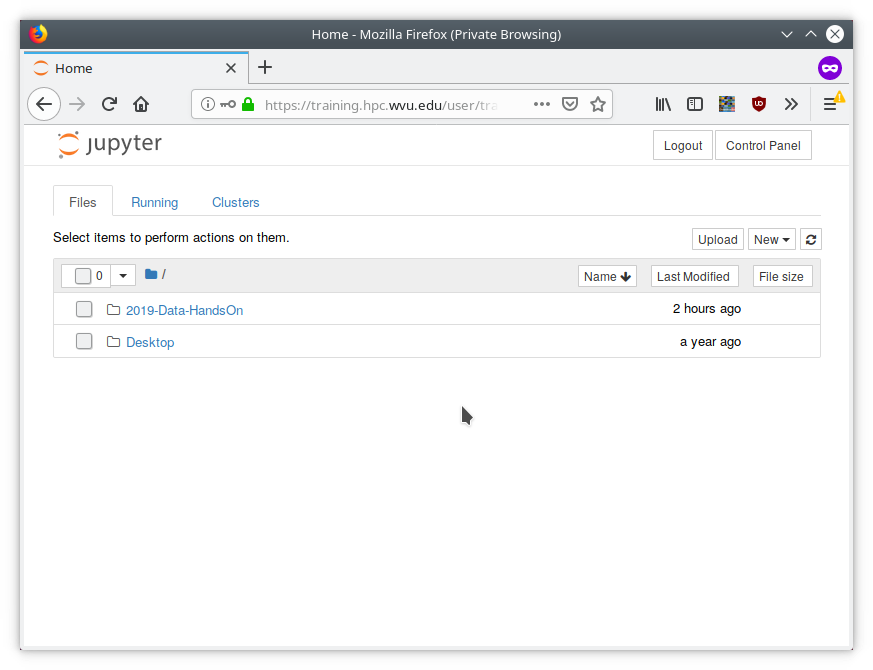
After entering your credentials, you will enter into a Jupyter Dashboard
On the right side click on New -> Terminal
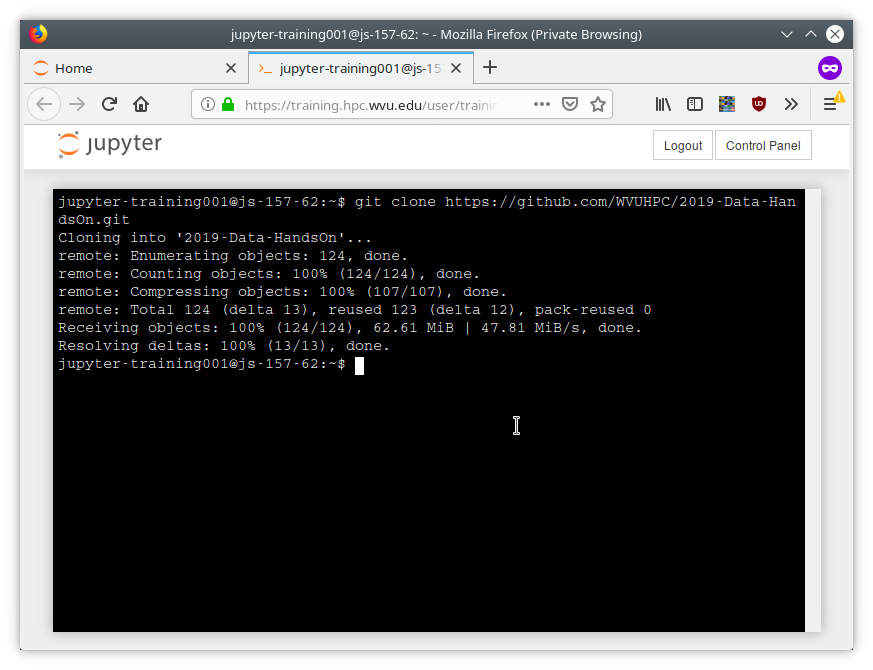
As shown on the Terminal execute:
$ git clone clone https://github.com/WVUHPC/2019-Data-HandsOn.git
Using Spruce Cluster with Jupyter on Conda and Port Forwarding (Advanced)
This method is better for advanced users as it involves several steps on the command line.
Connect to the cluster enabling port forwarding. It is recommended to use a sufficiently high port and redirect the remote port to the same local port. In this case we are using 12000 but any port beyond that should work, but must be unique so if your port gets rejected is because somebody else is using it.
$ ssh -L 12000:spruce.hpc.wvu.edu:12000 gufranco@spruce.hpc.wvu.edu
Activate conda
$ source /shared/software/miniconda3/etc/profile.d/conda.sh
Activate the jupyter notebook open for the exact same port you bind during ssh connection.
$ jupyter-notebook --no-browser --ip="*" --port=12000
[W 13:44:49.298 NotebookApp] WARNING: The notebook server is listening on all IP addresses and not using encryption. This is not recommended.
[I 13:44:49.325 NotebookApp] Loading IPython parallel extension
[I 13:44:49.332 NotebookApp] Serving notebooks from local directory: /gpfs/home/gufranco
[I 13:44:49.332 NotebookApp] 0 active kernels
[I 13:44:49.332 NotebookApp] The Jupyter Notebook is running at:
[I 13:44:49.332 NotebookApp] http://[all ip addresses on your system]:12000/?token=60c81e7566d8842bed91c5fa47d0f4853b7c90e57337d8f3
[I 13:44:49.332 NotebookApp] Use Control-C to stop this server and shut down all kernels (twice to skip confirmation).
[C 13:44:49.333 NotebookApp]

    Copy/paste this URL into your browser when you connect for the first time,
    to login with a token:
        http://localhost:12000/?token=60c81e7566d8842bed9195fa47d0f4853b7c99e57337d8f3
[I 13:45:07.713 NotebookApp] 302 GET / (157.182.5.68) 0.77ms
[I 13:45:07.725 NotebookApp] 302 GET /tree? (157.182.5.68) 1.10ms
Copy and paste the entire URL that you got and paste it on your browser.
You should enter into a Jupyter session running on Spruce.
On the right side click on New -> Terminal
As shown on the Terminal execute:
$ git clone clone https://github.com/WVUHPC/2019-Data-HandsOn.git
On your own computer
If you are using your personal computer instead of the cluster, there are several pieces of software you will wish to install before the workshop. Though installation help will be provided at the workshop, we recommend that these tools are installed (or at least downloaded) beforehand. For example, Anaconda Python is a very large download.
Python 3
You need an implementation of Python 3. There are several ways you can achieve that. You can use the Official CPython version from https://www.python.org/downloads/ and after install the scientific packages with pip. In particular, we will use Jupyter, Numpy, Scipy, Matplotlib, Pandas and Cython. With those packages you have a fairly decent environment to start doing scientific computing on Python.
Another option is the Intel Distribution of Python https://software.intel.com/en-us/distribution-for-python. It includes optimized versions of Numpy, Scipy and scikit-learn that uses the optimized MKL on background. In term of performance this is a better choice over the Official Python distribution and packages from pip.
Another option is installing Miniconda or Anaconda from https://www.continuum.io/downloads. Anaconda is a free version of Python that comes bundled with all of its most useful tools.
SSH Client
If you plan to work from the cluster you should have an SSH client installed. SSH is a tool that allows us to connect to and use a remote computer as our own. Please follow the directions below to install an SSH client for your system.
Windows
Install MobaXterm from http://mobaxterm.mobatek.net. You will want to get the Home edition (Installer edition).
macOS
Although macOS comes with SSH pre-installed, you will typically want to install XQuartz to enable graphical support. Note that you must restart your computer to complete the installation.
Linux
Linux users do not need to install anything, you should be set!


