Build Software
GNU Build System
Learning Objectives
- Build the python interpreter
- Learn the three steps to configure and build software using GNU’s build system
- Learn to build software without superuser privileges
Download the python interpreter
We need to download the latest version of the python interpreter. Which is located at.
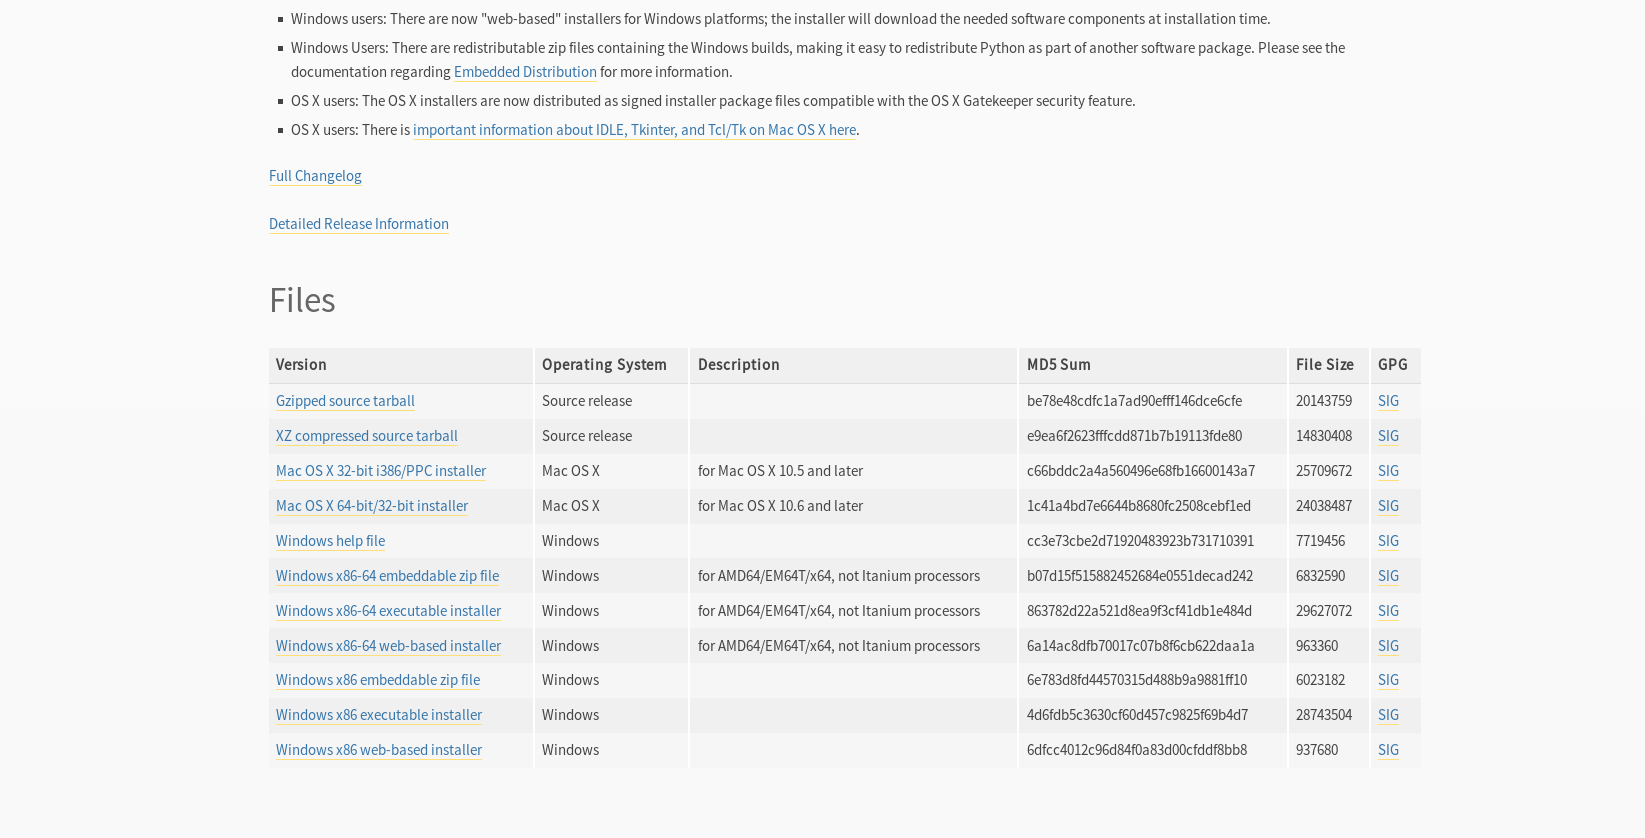
We want version 3.5.1. On the 3.5.1 download page, we choose the ‘Gzipped source tarball’. It’s important to note that this is a ‘Source release’, which is often the version you need for Linux operating systems (Ubuntu, Red Hat).

python download page
Unpackage the source directory
$ tar xzvf Python-3.5.1.tgz
$ cd Python-3.5.1
$ ls
Doc LICENSE Makefile.pre.in Objects Parser README config.guess configure.ac setup.py
Grammar Lib Misc PC Programs Tools config.sub install-sh
Include Mac Modules PCbuild Python aclocal.m4 configure pyconfig.h.inGNU build steps
The GNU build system is broken into three distinct steps.
- Configure
- Build
- Install
The configure step sets up all of the file dependencies for the package on your system. This is the basis of portable software. If the configure step completes successfully, the Build and Install steps should always work.
Configure
There will be a number of directories and files. The main file we are interested in is the configure script. This will setup the compile time dependencies. The script can take numerous options.
$ ./configure --helpYou may notice a large number of options. If you don’t know what these options do; then you do not need to be concerned with them. The general rule, is that the default (configure with no options) is perfectly appropriate for the majority of use cases.
We are intertested in the --prefix option, however. As a segment of the help message dictates.
By default, `make install' will install all the files in
`/usr/local/bin', `/usr/local/lib' etc.  You can specify
an installation prefix other than `/usr/local' using `--prefix',
for instance `--prefix=$HOME'.
Without superuser privileges, you will not be able to install the package in /usr/local. Additionally, the /usr directory tends to be a system package, and it is almost never a good idea to put packages in there.
So let’s configure the build to install in a subdirectory python2 in our home directory.
$ ./configure --prefix=$HOME/python3
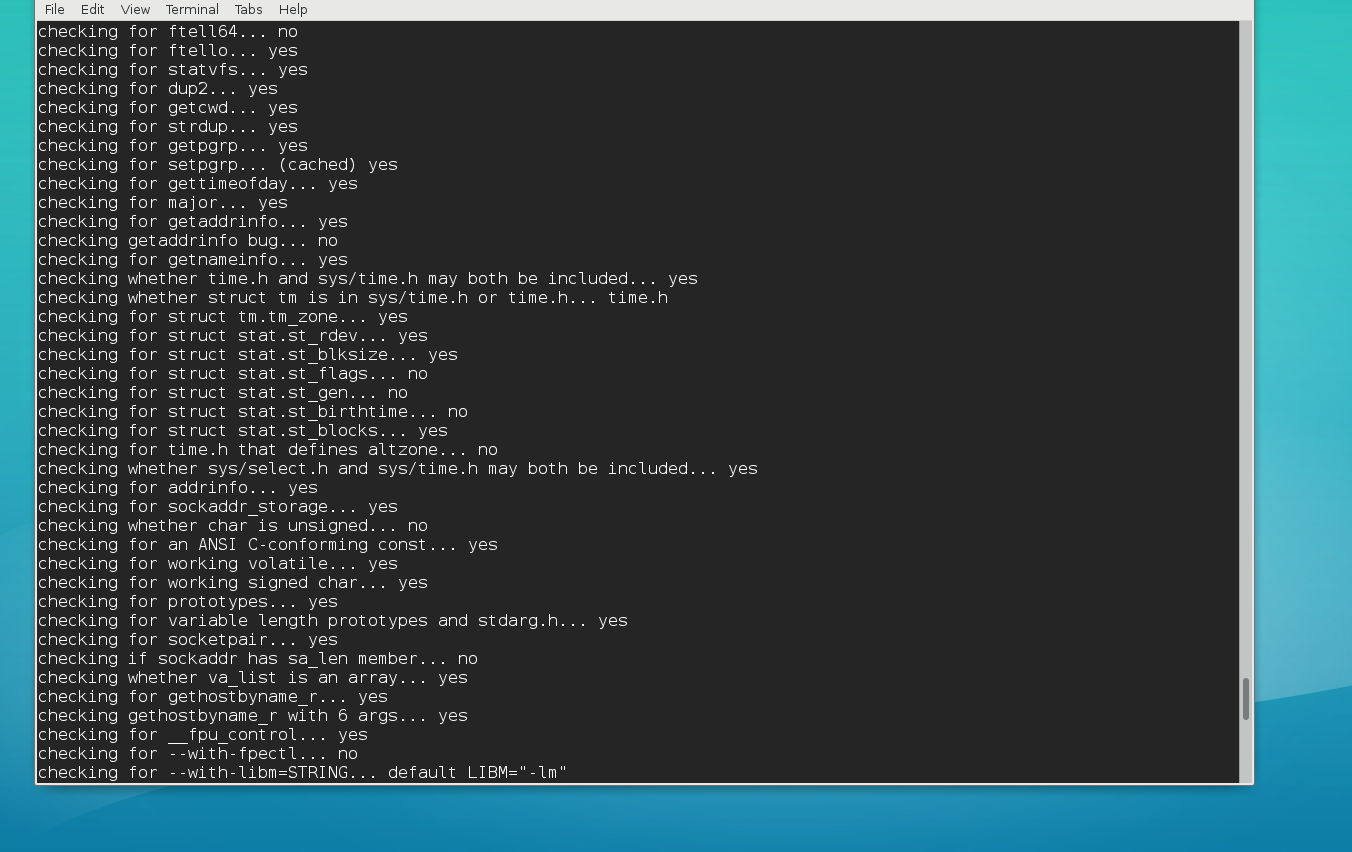
python configure output
Build
Notice the directory now has a Makefile in it
$ lsDoc LICENSE Makefile Misc PC Programs Tools config.log configure
Grammar Lib Makefile.pre Modules PCbuild Python aclocal.m4 config.status configure.ac
Include Mac Makefile.pre.in Objects Parser README config.guess config.sub install-shThe generated Makefile is what contains all of the compiling commands with correct dependences. The make command, will interpret and execute the Makefile.
$ makeA bunch of compiling commands, will almost always see warnings; usually can be ignored.
Install
$ make installA bunch of install commands coupled with rm and cp.
$ cd $HOME/python3
$ ls
bin include lib shareTest our installation
$ cd bin
$ ./python3
Python 3.5.1 (default, Jun 8 2016, 11:23:55) [GCC 6.1.1 20160501] on linux
Type "help", "copyright", "credits" or "license" for more information.
>>> To quit the python interpreter type quit() at the prompt and press enter. Notice that the version in the header matches the version we just installed.
However, the problem with this install is that it is not available for use without an absolute path.
$ python3bash: python3: command not found